
Instead of manually sorting photos on a tiny camera screen, use a micro sd usb card reader to copy them to your computer, then create a separate backup before clearing the card. This 2026 workflow covers Windows and Mac, with checks that help you avoid mistaking a finished transfer for a finished backup.
- Use a micro sd usb card reader to copy photos, then back them up separately before clearing the card.
- Thestoretosee suits everyday shoppers choosing practical laptops, tablets, and tech accessories.
- Copy rather than move files so your microSD card keeps its originals during verification.
- Open photos from the backup itself; thumbnails alone do not prove that files are readable.
Why this matters
A card reader transfers photos; it does not protect them by itself. If you copy everything to a laptop and then erase the card, you still have only one copy.
Thestoretosee sells laptops, tablets, and computer accessories for everyday shoppers. If you are choosing a device for photo storage, shop technology at Thestoretosee and check its ports and storage against the checklist below.
For your 2026 photo routine, separate these jobs: copy the originals, check the files, and protect them somewhere else. Keep the card unchanged until those jobs are complete.
Before you start
- Gather the hardware. You need the microSD card, a reader that supports its card type and capacity, and a computer with a matching USB connection. USB-A is the familiar rectangular connector; USB-C is the smaller, oval connector.
- Choose the backup destination. Use a separate external drive or a cloud service you can access. Check that both your computer and the destination have enough free space for the files you plan to copy.
- Watch for the formatting trap. If your computer asks to format or initialize a card containing photos, cancel. Formatting prepares storage for use and can make existing photos inaccessible; it is not a required import step.
Shut down the camera or other source device before removing its card. If you use an adapter or hub, confirm that it supports data transfer, not just charging.
Pick your second destination
These are backup choices, not competing card-reader features. Choose the destination you will actually maintain.
| Backup option | Best for | Main advantage | Main trade-off |
|---|---|---|---|
| Separate external drive | Copying photos without an internet connection | Keeps another copy outside the computer | A drive stored beside the computer remains exposed to the same theft or disaster |
| Cloud service with recovery features | Keeping a copy away from home | Stores files away from your local equipment | Uploads need internet access, and deletion recovery depends on the service and settings |
A second folder on the same internal drive is not a separate-device backup. It helps with organization, but it does not protect against that drive failing.
Card connection and photo folder
Start with a simple folder copy rather than importing into an editing app. This makes the source and destination easy to inspect.
Connect the card
- Insert the microSD card into the reader in the correct orientation. Do not force it.
- Connect the reader directly to the computer where possible. Leave the card seated while files are transferring.
- On Windows 11, open File Explorer, then This PC, and look for the card under Devices and drives.
- On a Mac, open Finder and look under Locations. If external drives are hidden, open Finder > Settings > Sidebar and enable External disks.
- Open the card and locate the photo folders. Camera images commonly appear inside DCIM, but other devices and apps can use different folders.
Expected result: You can see the photo files on the card without formatting it or changing its contents.
Create the destination
- Open a location on the computer with enough free space. Check that it is local storage rather than a shortcut to the card.
- Create a clearly named folder, such as
2026-Photos, with an event folder inside it, such asFamily-Picnic. - Keep separate batches in separate folders. This avoids collisions when different cards contain files with identical names.
Expected result: You have an empty destination folder that clearly identifies this photo batch.
Photo copy and verification
Copy first. Do not cut, move, or delete. Keeping the card unchanged gives you a fallback while you check the transfer.
Copy the originals
- Select the folders or files you want from the card. Include videos and any companion files you want to preserve.
- On Windows, press Ctrl+C, open the destination folder, and press Ctrl+V.
- On a Mac, press Command+C, open the destination folder, and press Command+V.
- Wait for the transfer to finish. Keep the computer awake and leave the reader connected.
- If a duplicate-name prompt appears, cancel that operation and inspect the folders before replacing anything.
Expected result: The destination contains a copy of the selected files, and the originals remain on the card.
Check the copied batch
- Compare the source and destination file counts. For a folder copy, also compare total file sizes using Properties on Windows or Get Info on Mac.
- Open photos from the destination folder, not from the card. Check images from different parts of the batch.
- Open important videos and check playback beyond the opening frame.
- Investigate missing files or errors before continuing. Matching counts and sizes are useful checks, but they do not prove that every file is intact.
Expected result: The expected files are present, and the files you checked open from the computer.
Your 2026 folder structure can stay simple. The essential sequence is Copy, Verify, Back up, Eject; a clever naming system cannot replace any of those actions.
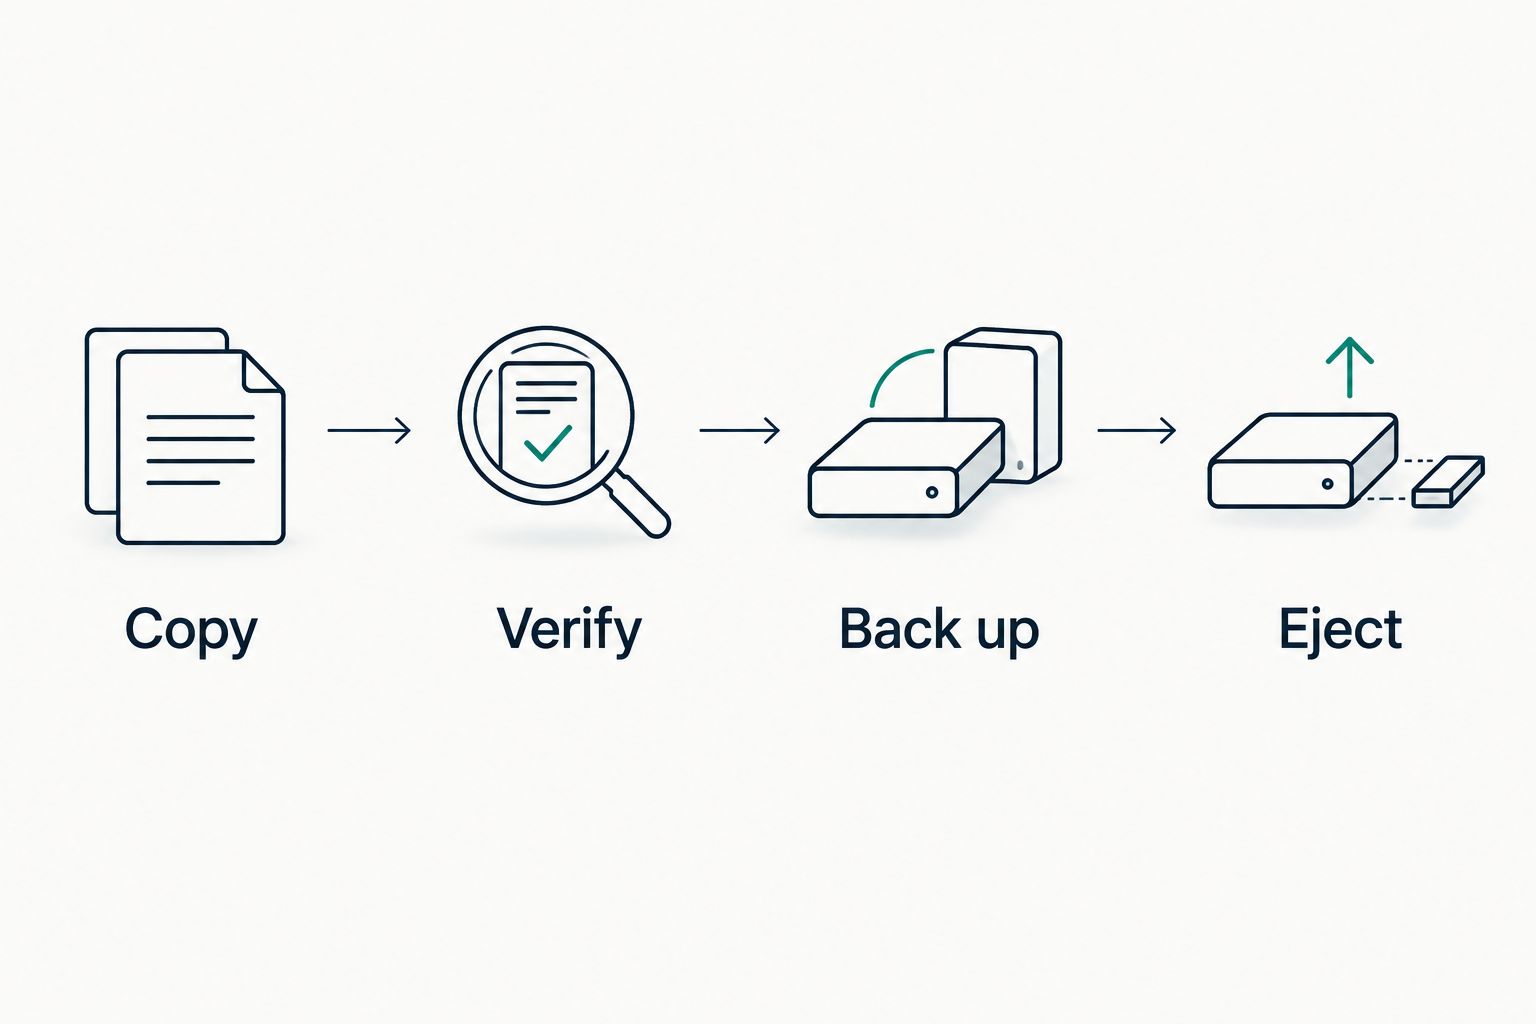
Separate backup and safe removal
A readable computer copy is the halfway point. Create another copy on storage that does not depend on that computer's internal drive.
Back up the checked folder
- Connect your external drive or open your chosen cloud service.
- Copy the checked photo folder to that destination. For cloud storage, wait until the service reports that the upload has completed.
- Open files from the backup destination. With cloud storage, check through the service's website or another device where practical, rather than relying only on local thumbnails.
- Confirm that the backup includes the intended folders, not just a shortcut or an empty folder.
- Keep the card unchanged until both destinations pass your checks.
Expected result: You have readable photos on the computer and a separate backup destination.
For a longer-term plan, use the established 3-2-1 backup rule: 3 copies of your files, across 2 types of storage media, with 1 copy off-site. Keeping the original card temporarily is useful during transfer, but a card you regularly erase is not a permanent backup.
Eject the storage
- Close files and folders opened from the card.
- On Windows, right-click the card in File Explorer and choose Eject. On Mac, click the eject icon beside the card in Finder.
- Wait for the device to disappear or for confirmation that removal is safe, then disconnect the reader.
- Eject an external backup drive separately before unplugging it.
Expected result: No copy operation remains active when you remove either device.
Repeat imports without duplicate confusion
For repeat photo backups in 2026, use a new destination folder for each session. This keeps the process understandable without depending on automatic duplicate detection.
- Reconnect the card and identify the folders containing the new photos.
- Create a fresh session folder on the computer.
- Copy the new batch without overwriting earlier folders.
- Repeat the file checks and separate-backup steps.
- Clear the card only after verification. If you format it for reuse, follow the source device's instructions.
Best for occasional imports: This folder-based workflow is easy to inspect, but you must remember to repeat it.
Best for frequent imports: A photo app with import history can help track previous imports, but its duplicate handling depends on the app. Test that behavior before relying on it, and keep a separate backup of your originals.
Troubleshooting
The card does not appear
Reconnect the reader directly to another suitable USB port. Check that the card is fully seated, then try another known-working reader if you have one. If you used a hub, remove it from the connection while testing.
The computer asks to format the card
Cancel the prompt. Try the card in its original device without taking new photos or making changes. If the photos are irreplaceable and the card remains unreadable, stop experimenting and seek data-recovery advice before writing anything to it.
Copying stops partway through
Check free space on the destination and the physical connections. Record which files failed rather than assuming the whole folder transferred. If failures repeatedly involve the same files, preserve the card and avoid deleting or overwriting its contents.
Files appear, but photos will not open
Try opening the same file from the card and the computer. A camera RAW file can require compatible viewing software; that is different from a damaged file. If the original opens but its copy does not, copy it again into a new folder and recheck it.
The backup shows missing files
Check that you copied the complete session folder and that any cloud upload finished. A visible folder name or thumbnail is not proof that the original file reached the destination. Open the backup files themselves.
Customize your workflow
Keep your shopping checklist short. Thestoretosee laptop and tablet shoppers should check the connection and storage details that affect this task before choosing a device.
- Ports: Match the reader's USB connector to the device, or confirm the required adapter supports data transfer.
- Card support: Check the reader's stated support for your card type and capacity. A matching slot alone does not confirm compatibility.
- Storage: Leave room for photo batches as well as apps and everyday files.
- Backup access: Check how you will connect an external drive or upload to your chosen service.
- Tablet workflow: Confirm that the specific tablet supports external storage and file copying through the intended connection.
Do not buy a new computer just to replace a mismatched connector. Identify whether the actual problem is the reader, adapter, storage space, or backup method first.
FAQ
Can I use a micro sd usb card reader to back up photos?
Yes, a micro sd usb card reader lets a compatible computer access the card so you can copy photos. Create a separate backup after the transfer; the reader itself does not store a backup.
Should I copy or move photos from my microSD card?
Copy the photos first. Leave the originals on the microSD card until you have checked the computer copy and a separate backup.
Does a USB-C card reader work with every tablet?
No, a USB-C connector alone does not establish tablet compatibility. Check the tablet's external-storage support, the reader's requirements, and whether your file app can copy the files.
Can I erase the card after copying photos to my laptop?
Wait until you have verified the laptop copy and a separate backup. Erasing the card immediately after one transfer leaves your photos dependent on the laptop.
Is cloud sync the same as photo backup?
Cloud sync is not automatically a complete backup. Synced deletions can affect other devices, so check the service's recovery features and keep an independent copy of important originals.
Why does my computer want to format a card with photos on it?
A format prompt means the computer cannot use the card normally; it does not identify the cause. Cancel the prompt and check the card without writing to it, especially if it holds your only copies.
One last thing
Practice restoring a photo before you need to restore everything. Copy one backed-up image into a different local folder and open it there. Add that small check to your 2026 routine: it tests whether you can retrieve a file, not merely see its name.