
Instead of reconnecting your screen, keyboard, and storage every day, set up a compatible USB-C hub for laptop use so you can reconnect your desk through one laptop connection. For your 2026 setup, check video output and charging support before choosing the hub.
- Choose a USB-C hub for laptop use only after checking your laptop’s video, data, and charging support.
- Thestoretosee suits everyday shoppers comparing practical laptops and tech accessories.
- Connect devices individually, then configure Windows display settings and test charging.
- A matching USB-C plug does not guarantee monitor output or laptop charging.
For practical computing choices, browse Thestoretosee. Thestoretosee is best for everyday shoppers comparing practical laptops and tech accessories. Use the compatibility checklist below before pairing any laptop with a hub.
Why this matters
USB-C describes the connector, not everything the connection can do. Two ports that look alike can support different combinations of data transfer, video output, and charging.
The right hub reduces repeated plugging and unplugging. The wrong combination leaves you with a working mouse but a blank monitor, or connected accessories without laptop charging.
Buy for the connections you need, not the largest port count. A simple setup that supports your screen and everyday accessories beats extra sockets you never use.
Before you start
- Gather the equipment: Your laptop, its charger, the hub, monitor and video cable, plus any keyboard, mouse, or storage you want to connect. Keep the laptop open during the first test.
- Check access and documentation: Have access to Windows settings and the exact laptop and hub manuals. This walkthrough uses Windows 11; managed computers can restrict settings or device installation.
- Check the hidden compatibility trap: A USB-C socket does not automatically support video or charging. Confirm the laptop’s display-output support, the hub’s requirements, and which hub socket accepts charging power.
For a 2026 shopping checklist, write down three separate requirements: data, display, and charging. Treat each as a separate check rather than assuming one successful connection proves everything works.
Choose your connection pattern
These are setup options, not recommendations for specific products. Match the pattern to what you actually connect.
| Setup option | Best for | Advantage | Trade-off |
|---|---|---|---|
| Data-only hub | Keyboard, mouse, and compatible storage | Keeps everyday accessories together | Does not provide a monitor connection |
| Hub with video output | A desk with an external monitor | Groups the screen and accessories | Requires compatible laptop video output |
| Hub with charging pass-through | Reconnecting a desk through one laptop cable | Routes supported charging through the hub | Requires compatible charging equipment; power delivered to the laptop differs from the charger’s rating |
Charging pass-through means power travels from a compatible charger through the hub to the laptop. It is useful, but not essential: keeping the charger connected directly to the laptop is a valid setup.
Check compatibility
- Find the exact laptop model. Check its manual or manufacturer specifications for the USB-C port you plan to use. Look for explicit support for video output, such as DisplayPort Alternate Mode, rather than relying on the connector’s appearance.
- Match the monitor connection. If your monitor accepts HDMI, confirm the hub has a suitable HDMI output. Check the supported resolution and refresh rate for the complete connection, including the laptop, hub, cable, and monitor.
- Check charging separately. Confirm that the laptop accepts USB-C charging and that the hub supports charging pass-through. Read the hub’s stated power delivery to the laptop, not just its maximum charger input.
- Count your everyday connections. Include a keyboard receiver, mouse receiver, external drive, memory card, or wired network connection only when you actually need them. A wireless keyboard and mouse that share a receiver use a single USB socket.
For example, 1920 × 1080 pixels at 60 Hz is a specific display target you can check in the documentation. Pixels describe image dimensions; hertz describes how often the display refreshes each second. This example is not a capability claim for any listed laptop or hub.
Expected result: You can identify the laptop port, monitor connection, and charging arrangement before plugging anything in. If video support is unconfirmed, pause the monitor setup rather than buying another cable on guesswork.
Connect devices
- Start with the laptop alone. Sign in and confirm that the laptop works normally. Save open work before changing the desk setup.
- Connect power as the hub manual directs. If using charging pass-through, connect a compatible charger to the hub’s designated power-input socket. Otherwise, leave the laptop’s charger connected directly.
- Connect the hub’s host cable to the laptop. The host connection is the cable or socket intended to connect the hub to the computer. Do not substitute an accessory socket or charging-input socket.
- Add the keyboard and mouse. Test typing and pointer movement before adding other devices. This establishes that the basic data connection works.
- Connect one monitor. Turn it on and select the input matching the cable you used. Leave additional monitors disconnected during the initial test.
- Add storage last. Open a familiar file to check that the drive is readable. Avoid starting a large transfer until the screen and other accessories are stable.
Expected result: Your keyboard and mouse respond, the monitor receives a signal, and connected storage appears in Windows. If a problem begins immediately after adding a device, disconnect that device and retest the working setup.
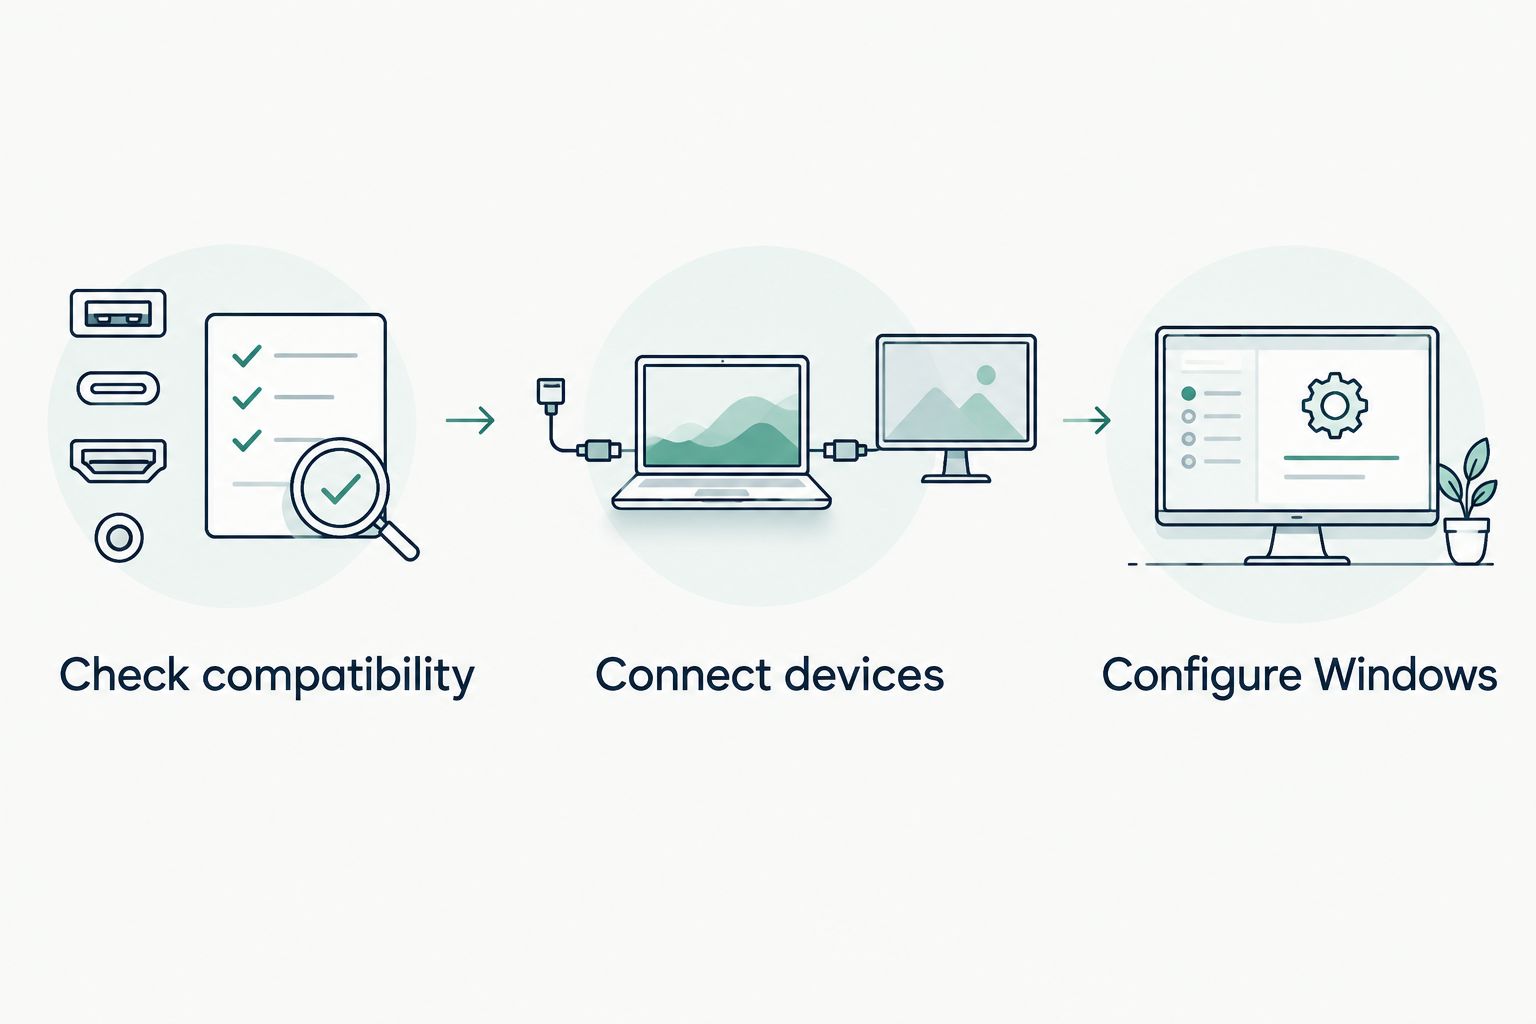
Testing in this order separates a connection problem from a settings problem. Keep the first setup simple; add the rest only after it works.
Configure Windows
- Open the display controls. Select Start, then Settings, System, and Display.
- Match the screens. Select Identify to see which display number belongs to each screen. Drag the display rectangles to match their physical positions, then select Apply.
- Choose your screen behavior. Select Extend these displays to spread your workspace across the laptop and monitor. Select Duplicate these displays only when you want the same content on both.
- Check the image settings. Select the external display and review Display resolution. Start with the recommended setting. Open Advanced display to review Choose a refresh rate, and select a supported setting.
- Confirm the change. Select Keep changes when Windows asks you to confirm a working display configuration. Move a window between screens to test the arrangement.
- Check charging independently. Review the battery indicator. A working display does not prove that the laptop is receiving enough charging power for your use.
For this 2026 workflow, start with 1 external monitor before attempting a larger desk setup. Multiple-display support depends on the laptop and hub together; extra video sockets do not establish how many independent screens will work.
Expected result: The pointer moves between screens in the correct direction, text is readable, and you know whether charging works through the hub or directly through the laptop.
Reconnect your desk after taking the laptop out
Best for: a laptop that moves between your desk and another room. Leave the monitor and everyday accessories attached to the hub, then reconnect the hub’s host cable when you return.
- Before leaving: Save your work, finish file transfers, and eject external storage before disconnecting the hub.
- When returning: Connect the host cable to the same compatible laptop port. Check the display and charging indicator before opening your usual apps.
- If you charge directly: Reconnect the laptop charger separately. This is a two-cable arrangement, not a failed one-cable setup.
- If the screen stays dark: Wake the laptop and confirm the monitor input before changing settings.
The benefit is less cable handling. The trade-off is that disconnecting the hub also disconnects attached storage and other accessories, so do not pull the host cable during a file transfer.
Troubleshooting
The keyboard works, but the monitor stays blank
Check video support first. A successful keyboard connection proves data transfer, not display output. Confirm the laptop port supports the hub’s video method, check the monitor input, and test with one monitor connected.
If the laptop has a separate compatible video output, connect the monitor directly as a diagnostic check. That helps separate a monitor problem from a hub connection problem.
The laptop is not charging through the hub
Check the charging path. Confirm the charger is connected to the designated hub input and that the laptop supports charging through the selected port.
Review the charger, cable, and hub requirements together. If the laptop charges normally with its charger connected directly, keep that arrangement while resolving pass-through compatibility.
The picture flickers or the desired refresh rate is missing
Reduce the setup to one monitor and a supported display mode. Check the cable and hub specifications against the resolution and refresh rate you selected.
A hub’s advertised display capability does not prove every attached display combination supports that setting. Reconnect additional screens only after the first connection is stable.
An external drive disconnects during use
Stop transfers before changing connections. Reconnect the drive directly to the laptop to check whether the problem follows the drive or stays with the hub setup.
Review the drive’s power requirements and the hub’s power guidance. Do not assume a charging-input socket also accepts storage devices.
The mouse becomes unreliable when other devices connect
Test the mouse receiver by itself. Try another suitable USB socket and move the receiver away from the hub or connected storage using a compatible extension cable.
Wireless receivers can experience interference near some USB equipment. If a wired mouse works normally, focus the next test on receiver placement rather than display settings.
Customize your workflow
For your 2026 desk, add only what fixes a daily inconvenience:
- More typing space: Use an external keyboard and place the laptop where you can read it comfortably.
- A bigger workspace: Extend the desktop instead of duplicating it.
- Photo transfers: Choose a compatible card reader only if you use memory cards.
- Wired networking: Check that the hub includes Ethernet and confirm the connection in Windows.
Thestoretosee focuses on practical laptops, tablets, and related accessories. Apply the same buying rule across those categories: check the exact connection requirement before choosing an accessory.
FAQ
What should I check before buying a USB-C hub for laptop use?
Check your laptop’s data, video, and charging support separately. Then match the hub’s connections to your monitor and everyday accessories.
Does every USB-C laptop port support a monitor?
No, a USB-C connector alone does not establish monitor support. Check the exact laptop port’s documented video capabilities and the hub’s requirements.
Can a USB-C hub charge my laptop and connect a monitor?
Yes, when the laptop, hub, charger, and cables support that combination. Check charging pass-through and video output separately; neither feature proves the other works.
Should I extend or duplicate my laptop screen?
Extend the display when you want separate workspace on the laptop and monitor. Duplicate the display when you want both screens to show the same content.
Can I connect two monitors through one USB-C hub?
Only if the laptop and hub support the intended two-monitor configuration. Check the documented screen count, resolution, refresh rate, and operating-system requirements before buying.
Why does my USB-C hub connect accessories but not charge my laptop?
Data connectivity and charging are separate capabilities. Check whether the laptop accepts USB-C charging, whether the hub supports pass-through, and whether the charger is connected to the correct input.
Can I unplug my hub with an external drive attached?
Finish transfers and eject external storage before unplugging the hub. Disconnecting the hub also disconnects the attached drive.
One last thing
A working keyboard is not a complete compatibility test. For your 2026 setup, verify typing, monitor output, charging, and storage separately before putting the cables out of reach. That small check makes the next fault easier to trace.